
Linux SSH servers, in particular, stand out to cyberattackers. Their ability to provide remote command-line access positions them as essential conduits for controlling and managing server operations.
Consequently, this remote access designates them as prized entry points for those intent on exploiting or compromising critical services.
Server administrators can run updates, apply patches, and use fewer standard ports to deter hackers, but how can you tell if the enemy is at the gates?
Spot the Signs of a Hack
Many hacks aren't sophisticated. Most result from automated attacks by botnets or “script kiddies” wielding pre-existing malicious code.
These attacks, ranging from denial-of-service (DoS) assaults to the commandeering of servers for spam distribution or cryptocurrency mining, underline the diversity of cyberthreats.
Such activities demonstrate a blend of intricate schemes and the opportunistic abuse of well-known vulnerabilities that significantly tax system resources.
Signs of compromise, such as delayed emails, disrupted streaming, or a noticeable slowdown of your server, are indicators of potential unauthorized access. Acknowledging these signals early on empowers you to act swiftly.
Fortunately, there are straightforward measures you can adopt to verify the security of your server. The following are steps to help ensure your server's integrity remains intact.
Step 1. Check Active Logins
If a bad actor has hacked your server, they might still be signed in. The easiest way to check if this is the case is to connect to your Linux server via SSH and run:
w
This simple one-letter command displays other connected users and their login times. Ideally, this will show that there are no other logged-in users besides yourself (as pictured).
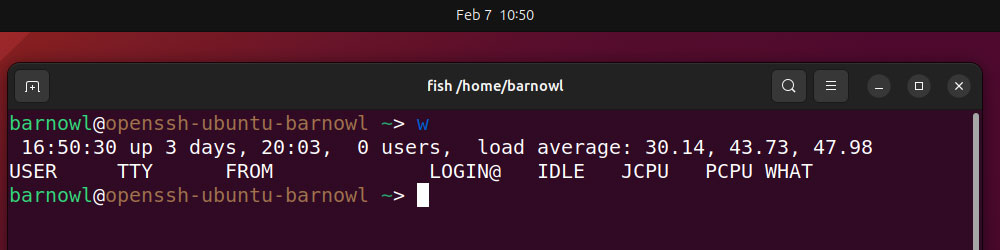
If you run the “w” command, you can see the IP address of other connected users via the 'FROM' field. You can use the whois command to determine where the IP was originally registered:
whois 8.8.8.8
You can also view information about logged-in users and any active processes they're running with:
who -u
Step 2. Check Previous Logins
If no unknown users are currently logged in to the server, you should also check your server's login history. The easiest way to do this is by running:
last
The output from this shell command will display the username, IP address, and login times of previous users.
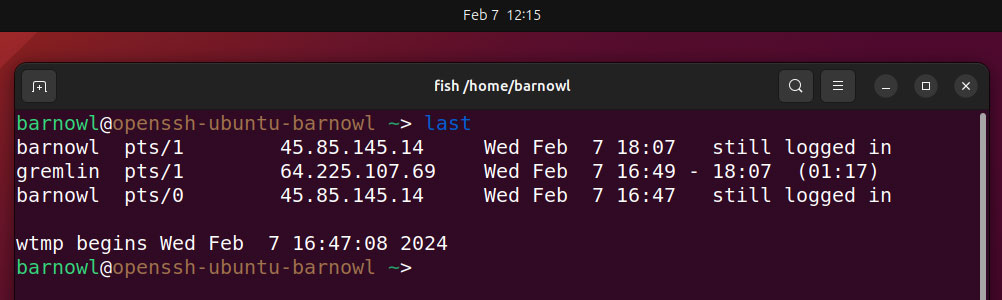
If you don't recognize a user, as with “gremlin” in the above image, you can rerun the command with their username to view only their login history, e.g.:
last gremlin
You can also use the 'whois' command on the login IP address once again to try to trace their location.
If the user is unauthorized, you can terminate their SSH session and any processes associated with their username using pkill, for instance:
sudo pkill -U gremlin
When running the last command, you'll notice the final line of output refers to 'wtmp', e.g.:
"wtmp begins Wed Feb 7 16:47:08 2024"
Make sure to pay close attention to the date and time. If it's recent, a hacker may have deleted /var/log/wtmp, which stores recent login attempts, to cover their tracks.
Step 3. Check Previous Commands
If you discover unrecognized users, you should check to see which commands have been run. This list is stored in ~/.bash_history, which you can view from Terminal by running:
cat ~/.bash_history
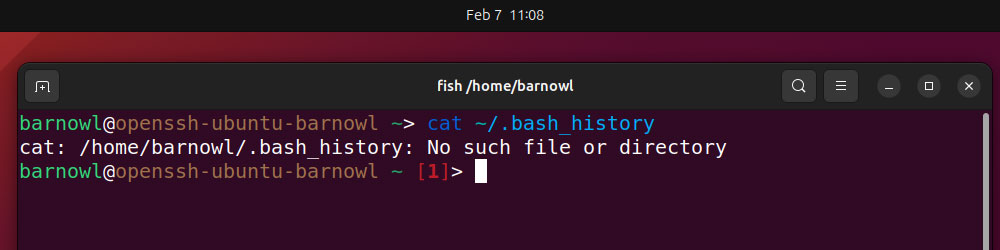
Usually, you'll see a long list of commands here. Keep your eyes peeled for common commands such as install, curl, or wget, which can be used to download and install malicious software.
If Terminal tells you there's no such file or directory, a hacker may have deleted the list to hide traces of commands they've run.
Step 4. Check the Most Intensive Processes
As we’ve learned, hackers who break into servers will often begin system-intensive processes, such as installing programs designed to mine cryptocurrency.
You can check if this is the case using the top command: a built-in Linux utility that provides a real-time, dynamic view of the system's performance.
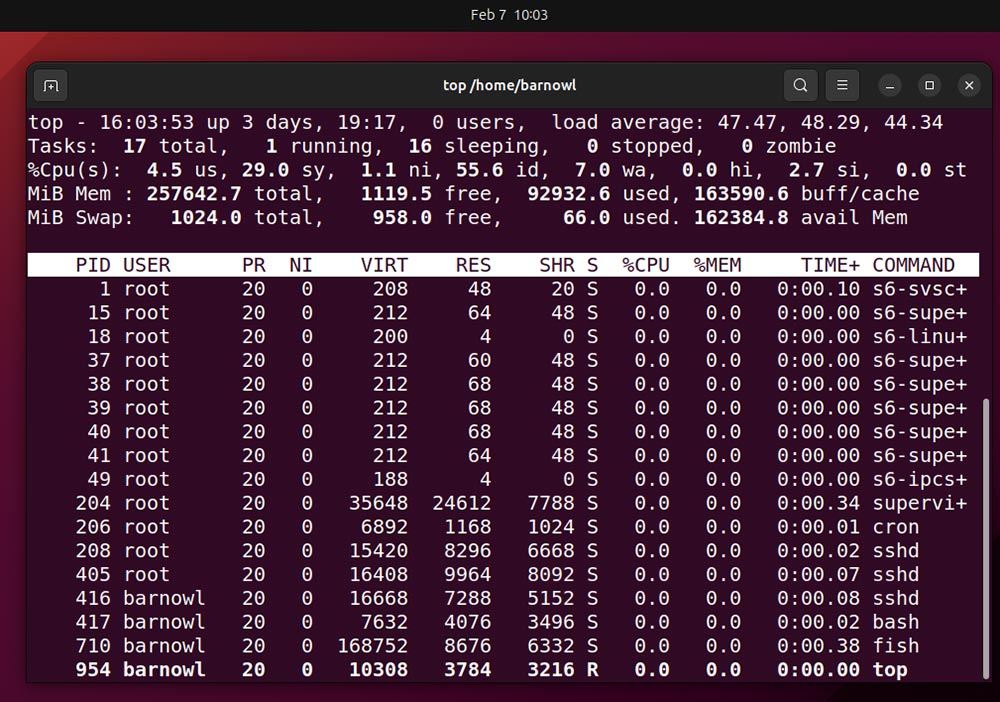
The information here can seem overwhelming, so first, simply focus on the “command” column, which lists the names of active processes. If you see any you don't recognize, note its PID (process ID). When you're done, use Ctrl + C to exit.
The first and simplest test you can run on an unrecognized process is to run its name through a search engine. For instance, googling “fish linux process” reveals that the process listed in the image above is just a user-friendly command line shell.
You also can discover which files have been accessed by a particular process using lsof along with the process ID, for instance:
lsof -p 772
Step 5. Check All System Processes
If the hacker is smart, they'll make sure that their installed programs don't hog too many system resources to try and stay under the radar. Consequently, the processes they initiate might not appear in the list generated by the top command. To double-check all running processes, use:
ps auxf
This command organizes running processes logically. The columns here are self-explanatory. Once again, the process ID (PID) and CPU and memory usage are listed as a percentage of the system overall.
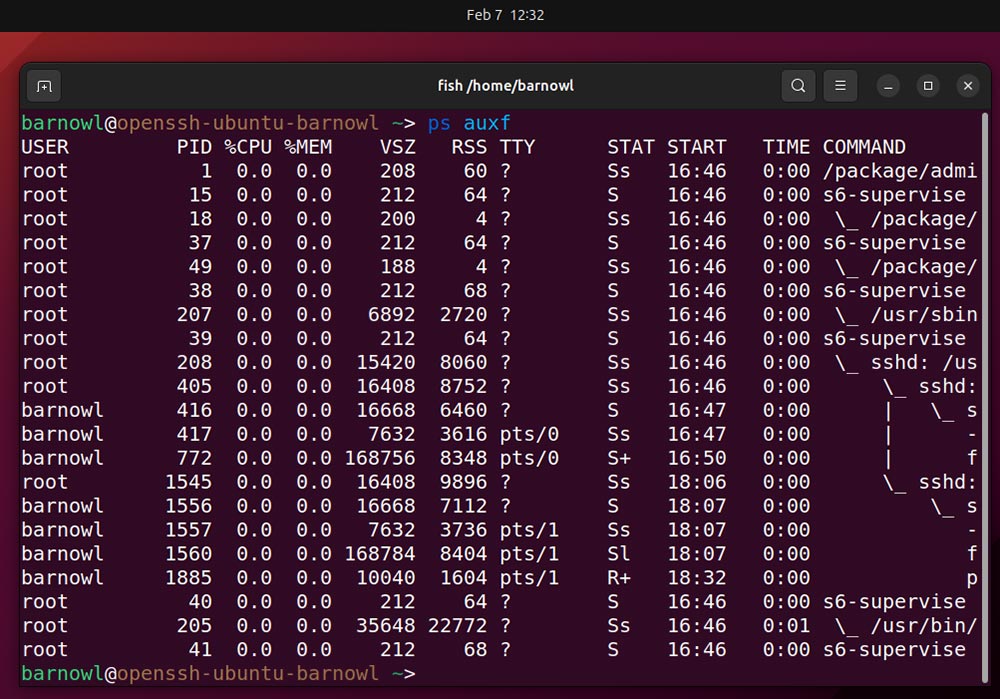
Check the “Command” column again carefully. If you don't recognize any processes, use a search engine and lsof as in the previous step to identify them. Use Ctrl + C to exit.
Step 6. Check Network Processes
Skilled hackers sometimes install backdoor programs configured only to listen for further instructions. These consume minimal CPU/system resources, making them easy to miss.
To be on the safe side, make sure to list all processes that are listening for network connections by running:
sudo lsof -i
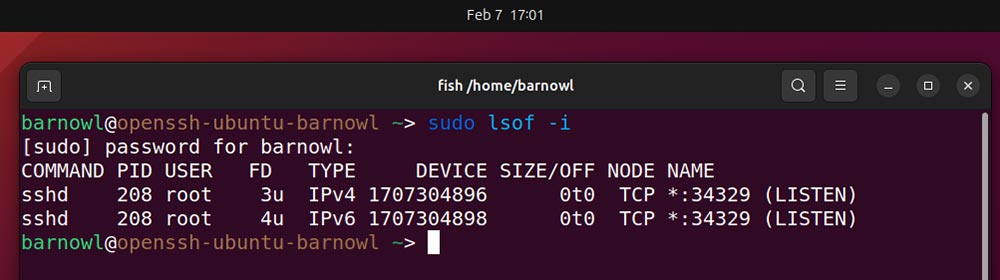
Look toward the end of each entry to check if the process is in “Listen” mode, i.e., waiting for a connection. If you don't recognize a process name, try to find out more about it using the methods outlined in Step 4.
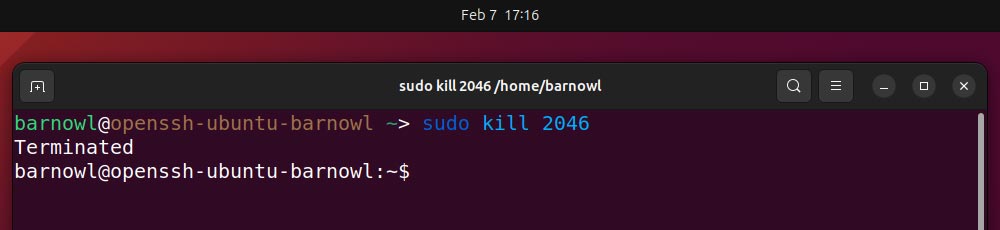
Step 7. Terminate Unauthorized Processes
If you find a suspicious process, you can terminate it immediately using the kill command as well as the PID:
sudo kill -9 2046
If a program has launched multiple processes, you can terminate all of them with killall:
sudo killall fish
If You've Been Hacked
After reviewing logged-in users, command history, and active processes you think your server is or has been hacked, you can remotely shut it down with the command:
sudo shutdown -h now
If you're renting server space from a third party, you may also be able to shut it down via the dashboard in the provider's web portal. From here, you can wipe and reinstall the server as you see fit.
Consult Cybersecurity Experts
In the event that you suspect your server has been compromised, especially if your business handles sensitive data, it is paramount to seek the expertise of cybersecurity professionals.
Computer security experts can provide a comprehensive security audit, identify the full extent of the breach, and recommend measures to not only rectify the current vulnerabilities but also fortify your defenses against future attacks.
Remember, the signs of a hack can often be subtle, and the implications are far-reaching. Engaging with cybersecurity experts not only helps in effectively addressing immediate security concerns but also in establishing a robust framework for safeguarding your digital assets in the long term.
Also read: What To Do if Your Linux Server Has Been Hacked | March 22, 2024